This guide shows how to create personalized, pop culture-themed school supplies, including notebooks, pencil cases, and binders. It is suitable for beginners who want fun, customized items for the new school year. You will learn how to select themes, decorate supplies, and assemble them for a professional look.
Open a free Amazon Business account
Business pricing, bulk buying and tax-exempt orders.
As an affiliate, we earn on qualifying purchases.
Difficulty: Beginner | Time: 2-4 hours
What You’ll Need
Tools & Materials:
- printer
- scissors
- glue or double-sided tape
- markers or pens
- laminating sheets (optional)
- craft knife (optional)
Knowledge:
- basic crafting skills
- familiarity with printing and cutting
Gather your supplies and select your favorite pop culture themes (TV shows, movies, comics) before starting. Have a clean workspace to prevent accidents.
pop culture themed school notebooks
As an affiliate, we earn on qualifying purchases.
As an affiliate, we earn on qualifying purchases.
Before You Start
Ensure all your tools are available and in good condition. Decide on the specific pop culture themes you want to feature. Prepare images or artwork, and check print sizes to match your supplies.
As an affiliate, we earn on qualifying purchases.
Step-by-Step Instructions
Step 1: Select and gather your pop culture images
Choose high-quality images or artwork related to your favorite pop culture themes. Save digital copies for printing or cutouts if using printed materials directly.
Tip:
Use official images or licensed artwork to avoid copyright issues. Resize images to fit your supplies (e.g., 8×10 inch for notebooks).
Check:
Images are clear, correctly sized, and ready for printing or cutting.
Step 2: Print or prepare your images
Print your chosen images on durable paper or sticker sheets using a color printer. Alternatively, cut images from printed sheets if working with physical cutouts.
Tip:
Use high-quality settings for vibrant colors. Laminate images for extra durability if desired.
Check:
Images are vivid, cut neatly, and ready to attach to supplies.
Step 3: Decorate notebooks and binders
Attach images to the covers of notebooks, binders, or folders using glue or double-sided tape. Trim excess edges for a clean look.
Tip:
Align images carefully before pressing down. Use a craft knife to trim edges if necessary.
Check:
Supplies have smooth, centered images with no excess paper or bubbles.
Step 4: Customize pencil cases and accessories
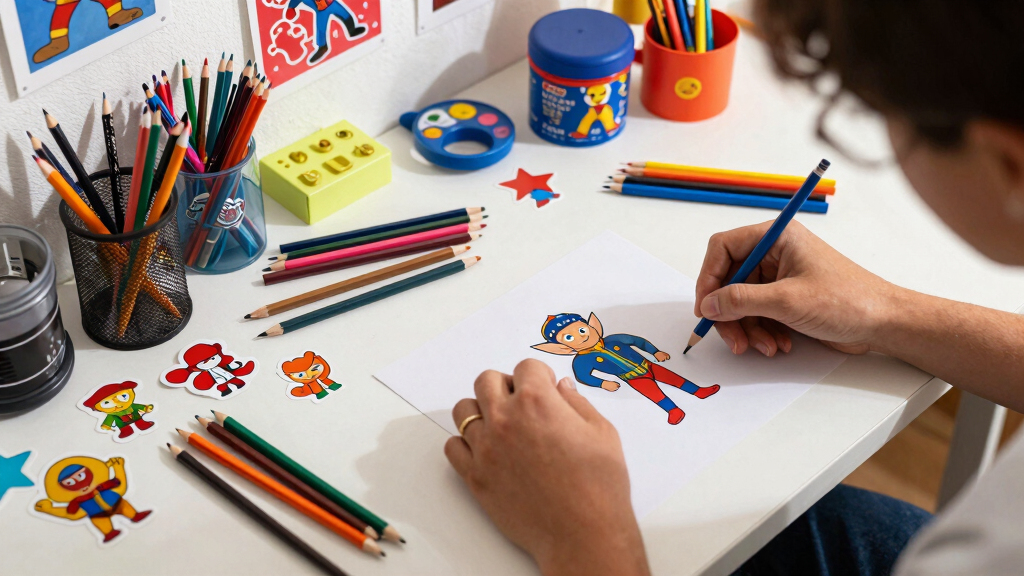
Decorate pencil cases or pouches with stickers, printed images, or hand-drawn accents related to your theme. Secure images with glue or double-sided tape.
Tip:
Use waterproof or laminated images for long-lasting decorations.
Check:
Decorated items are securely embellished with no loose parts or peeling images.
Step 5: Add finishing touches
Use markers or pens to add personal details, labels, or outlines to your supplies for extra flair. Consider sealing decorated areas with clear adhesive spray or laminate sheets.
Tip:
Test markers on scrap paper first to prevent smudging.
Check:
Supplies are decorated evenly, with no smudges or loose decorations, and look visually appealing.
As an affiliate, we earn on qualifying purchases.
Common Mistakes to Avoid
- Using low-resolution images that appear blurry when printed. — Choose high-resolution images (300 dpi or higher) for printing to ensure clarity.
- Applying images crookedly or unevenly. — Align images carefully before sticking, and use a ruler or straight edge if needed.
- Overloading glue or adhesive, causing wrinkling or bubbling. — Apply a thin, even layer of glue or tape and press firmly, removing excess glue promptly.
- Not sealing decorations, leading to peeling or smudging. — Use a clear sealing spray or laminate for long-lasting results.
As an affiliate, we earn on qualifying purchases.
Troubleshooting
Problem: Images are peeling or coming loose over time.
Solution: Apply a clear sealant or laminate to protect decorations and improve adhesion.
Problem: Colors look dull after printing.
Solution: Use high-quality printer settings and premium paper designed for vibrant colors.
Problem: Supplies are not fitting or the images are misaligned.
Solution: Double-check dimensions before printing, and use guides or rulers for precise placement.
Problem: Decorations are getting damaged quickly.
Solution: Reinforce with lamination or sealing sprays, and handle supplies carefully.
What Success Looks Like
All supplies are decorated with clear, vibrant images aligned properly, with secure attachments and a polished appearance. The supplies are ready for use and withstand handling without damage.
Next Steps
Use your customized supplies for school, and consider creating additional themed items as needed. Store extra images and materials for future decorations or replacements. Share your creations with friends or classmates for feedback or inspiration.
Frequently Asked Questions
Can I use images from the internet without risking copyright issues?
Use images labeled for reuse or create your own artwork to avoid copyright infringement. Always give credit if required.
How durable are these decorated supplies?
Applying a clear sealant or lamination significantly extends the lifespan and resistance to wear and tear.
What if my images don’t fit my supplies perfectly?
Resize images before printing or trim them carefully after printing to match your supply dimensions.
Can I customize supplies for different themes or seasons?
Yes, you can switch themes by selecting new images and decorating supplies accordingly, making it easy to match current trends or holidays.
NFL season / tailgating Picks
team gear
As an affiliate, we earn on qualifying purchases.